


Hey there! As a supplier of DIY decking tiles, I've seen firsthand how important proper drainage is for a successful decking project. In this blog post, I'll share some tips on how to ensure your DIY decking tiles have proper drainage.
Why Proper Drainage Matters
Before we dive into the how-to, let's talk about why proper drainage is so crucial. When water accumulates on your deck, it can lead to a whole host of problems. First off, it can cause the wood or composite materials in your decking tiles to warp, rot, or decay over time. This not only shortens the lifespan of your deck but also makes it unsafe to use.
Secondly, standing water can create a breeding ground for mold, mildew, and algae. These not only look unsightly but can also pose health risks, especially for those with allergies or respiratory issues. And let's not forget about the slippery surface that wet decks can become, increasing the risk of slips and falls.
Choose the Right Decking Tiles
The first step in ensuring proper drainage is to choose the right DIY decking tiles. At our store, we offer a variety of options, including DIY Decking Tile, Wpc Interlocking Decking Tiles, and Wpc Tiles For Terrace.
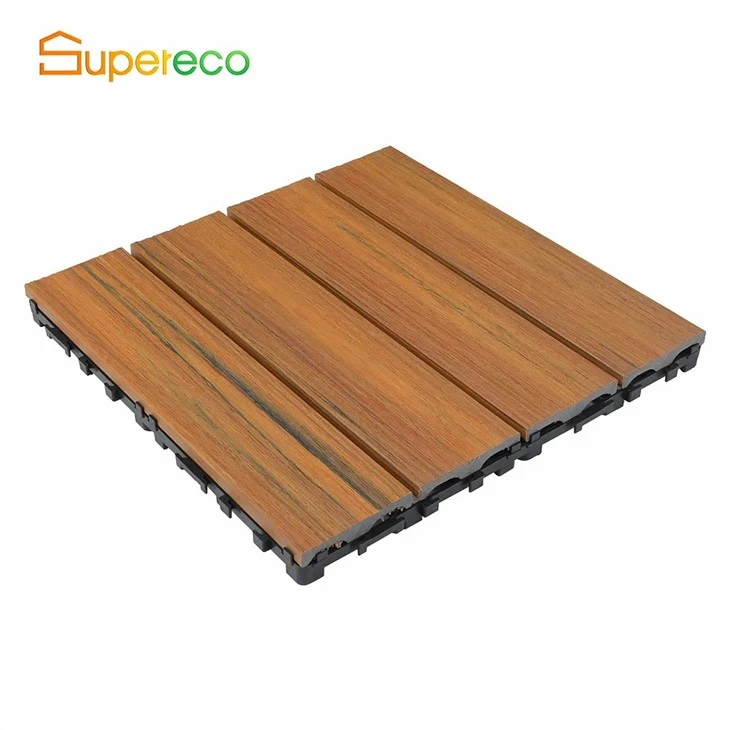
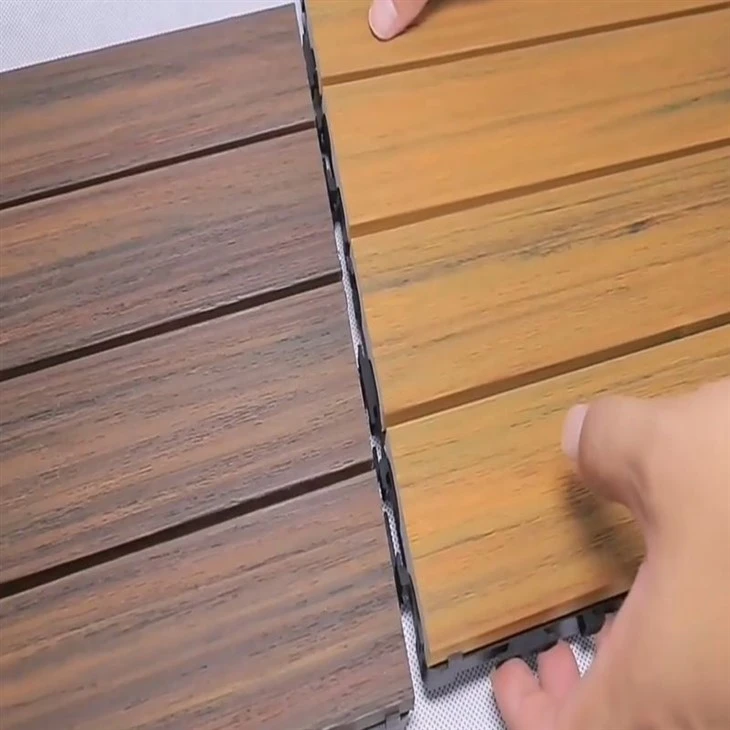
Many of our tiles are designed with built - in drainage features. For example, some have raised patterns or grooves on the underside that allow water to flow freely beneath the tiles. Others are made from porous materials that can absorb and disperse water more effectively. When you're browsing our selection, look for tiles that specifically mention good drainage capabilities.
Prepare the Base
The base on which you install your decking tiles plays a huge role in drainage. A flat, level surface is essential, but it also needs to have a slight slope to direct water away from the deck.
- Clear the Area: Start by clearing the installation area of any debris, rocks, or vegetation. This will give you a clean slate to work with.
- Level the Ground: Use a shovel and a level to make sure the ground is as flat as possible. If there are any low spots, fill them in with compacted gravel or sand.
- Create a Slope: Aim for a slope of about 1/8 to 1/4 inch per foot. This gentle slope will ensure that water runs off the deck rather than pooling on it. You can use a string level or a laser level to measure and create the slope accurately.
Install the Tiles Correctly
Proper installation is key to achieving good drainage. Here's how you can do it right:
- Leave Expansion Gaps: When laying the decking tiles, make sure to leave small gaps between them. These gaps allow water to drain through and also give the tiles room to expand and contract with changes in temperature. A gap of about 1/8 to 1/4 inch is usually sufficient.
- Align the Tiles: Ensure that the tiles are properly aligned so that the drainage channels or grooves line up. This will help water flow smoothly across the deck.
- Secure the Tiles: Depending on the type of tiles you choose, you may need to use clips, screws, or adhesive to secure them in place. Make sure to follow the manufacturer's instructions carefully.
Add Drainage Accessories
In some cases, you may need to add additional drainage accessories to enhance the performance of your deck.
- Drainage Mats: These mats can be placed under the decking tiles to help collect and channel water away. They are especially useful in areas with heavy rainfall or poor soil drainage.
- Gutters and Downspouts: If your deck is attached to your house, installing gutters and downspouts can help divert water from the roof and away from the deck. This prevents water from overflowing onto the deck and causing damage.
- French Drains: For larger decks or areas with persistent drainage problems, a French drain can be a great solution. A French drain is a trench filled with gravel or rock that collects and redirects water underground.
Regular Maintenance
Once your deck is installed, regular maintenance is essential to keep the drainage system working properly.
- Clean the Deck: Remove any leaves, dirt, or debris from the deck surface regularly. This will prevent the drainage channels from getting clogged.
- Inspect the Tiles: Check the tiles for any signs of damage or wear. Replace any cracked or broken tiles promptly to maintain the integrity of the deck.
- Check the Drainage Accessories: Make sure that the gutters, downspouts, and drainage mats are clean and in good working condition. Clear any blockages and repair any leaks as needed.
Conclusion
Ensuring proper drainage for your DIY decking tiles is not rocket science, but it does require some careful planning and attention to detail. By choosing the right tiles, preparing the base correctly, installing the tiles properly, adding drainage accessories if necessary, and performing regular maintenance, you can enjoy a beautiful, long - lasting deck that stays dry and safe.
If you're interested in purchasing our high - quality DIY decking tiles or have any questions about drainage or installation, don't hesitate to reach out. We're here to help you make your decking project a success.
References
- "Decking Installation Guide" - General industry guide on decking installation and drainage.
- "Composite Decking Materials and Their Properties" - Research on the properties of different decking materials and their impact on drainage.